The Apache 2 server comes pre-installed in Mac OS X, version 10.8.x, but, by default, is not enabled and has no GUI. The following is a tutorial on how to enable and use Apache using The Terminal on Mac OS 10.8.x.
Note: before proceeding, make sure the root, or super, user account is enabled.
Note: The dollar sign character ($) included in the following command line examples is used to indicate The Terminal’s prompt. It should not be typed in any of the directions listed below.
Apache at the Terminal
Starting Apache
To start Apache, launch The Terminal and type the following. (You will be asked for the root password.)
Stopping Apache
To stop it, type:
Restarting Apache
And to restart:
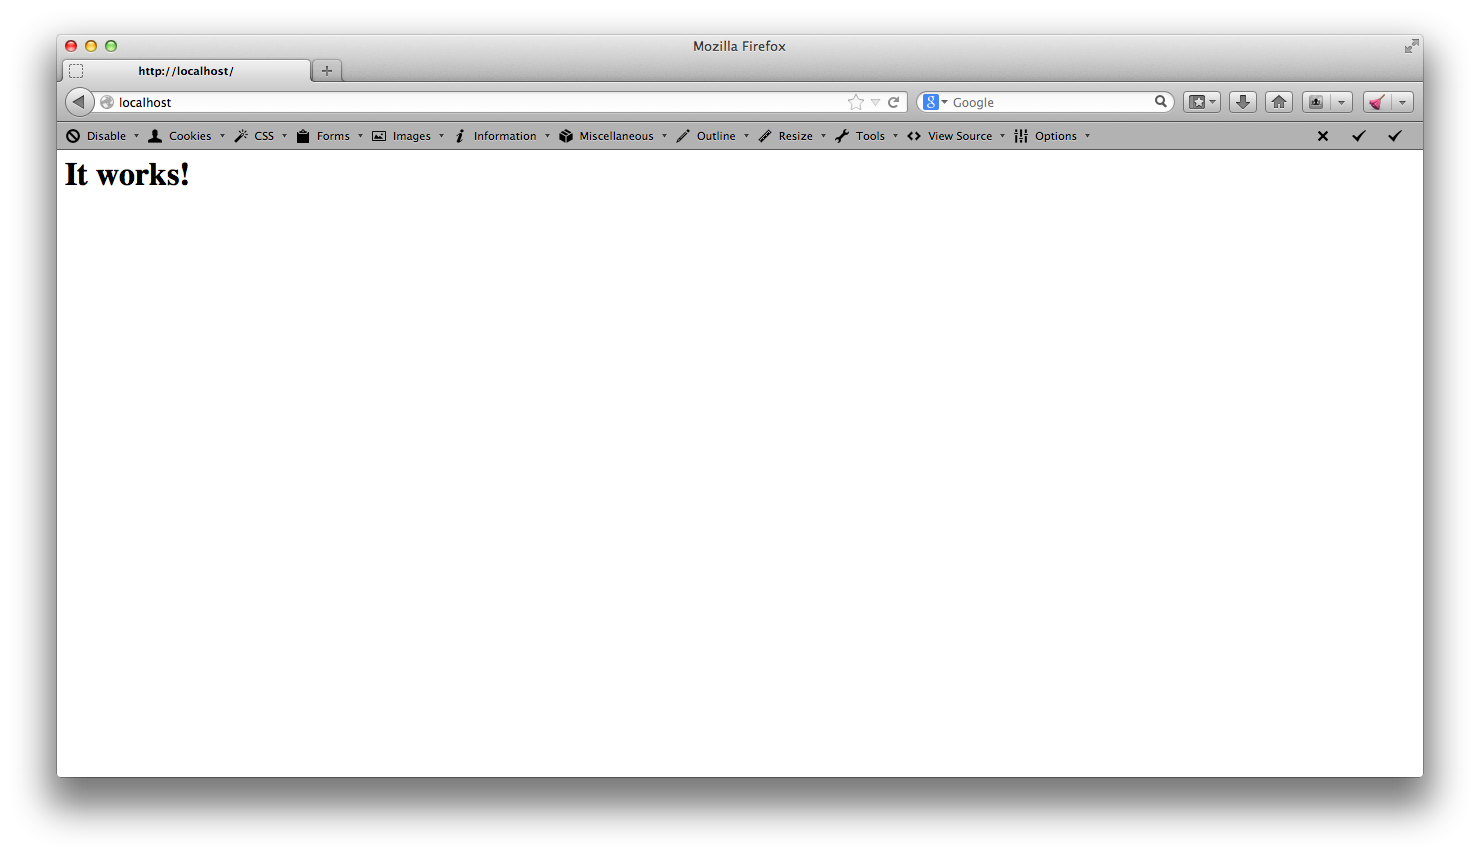
To ensure the server works, start it, per the instructions above, then open a browser and point it at localhost. The browser should read, It Works!:

Setting Up Your apache User Profile
Now that the server works, it needs to be enabled for you as the user of your Mac. Launch The Terminal, if it isn’t already open.
- Check if a folder called Sites exists in your home folder. If it does, move on to step 2. If it doesn’t, create it, ensuring the “S” is capital. Note: YOUR_USER_NAME is your Mac username. If you don’t know it, type whoami at The Terminal.
$ mkdir /Users/YOUR_USER_NAME/Sites
- Now, navigate to the users folder inside the apache2 folder:
$ cd /etc/apache2/users
- You now need to create and edit a text file called YOUR_USER_NAME.conf, where YOUR_USER_NAME is your Mac username. We’ll use emacs — a Terminal-level text editor — in this example. (You may be asked for the root password.)
$ sudo emacs YOUR_USER_NAME.conf
- In YOUR_USER_NAME.conf, add the following, substituting YOUR_USER_NAME for your Mac username:
<Directory "/Users/YOUR_USER_NAME/Sites/">
   Options Indexes MultiViews
   AllowOverride All
   Order allow,deny
   Allow from all
</Directory>
- To save the file in emacs, type control + x s. That is, hold the control key down and simultaneously type x followed by s. At the bottom of The Terminal window, a message will read: Wrote /etc/apache2/users/YOUR_USER_NAME.conf.
- To exit emacs, type control + x c: hold the control key down and simultaneously type x followed by c.
- Make sure the file you just created — YOUR_USER_NAME.conf — has 644 access:
$ sudo chmod 644 YOUR_USER_NAME.conf
- Restart the Apache web server, as discussed at the beginning of this tutorial.
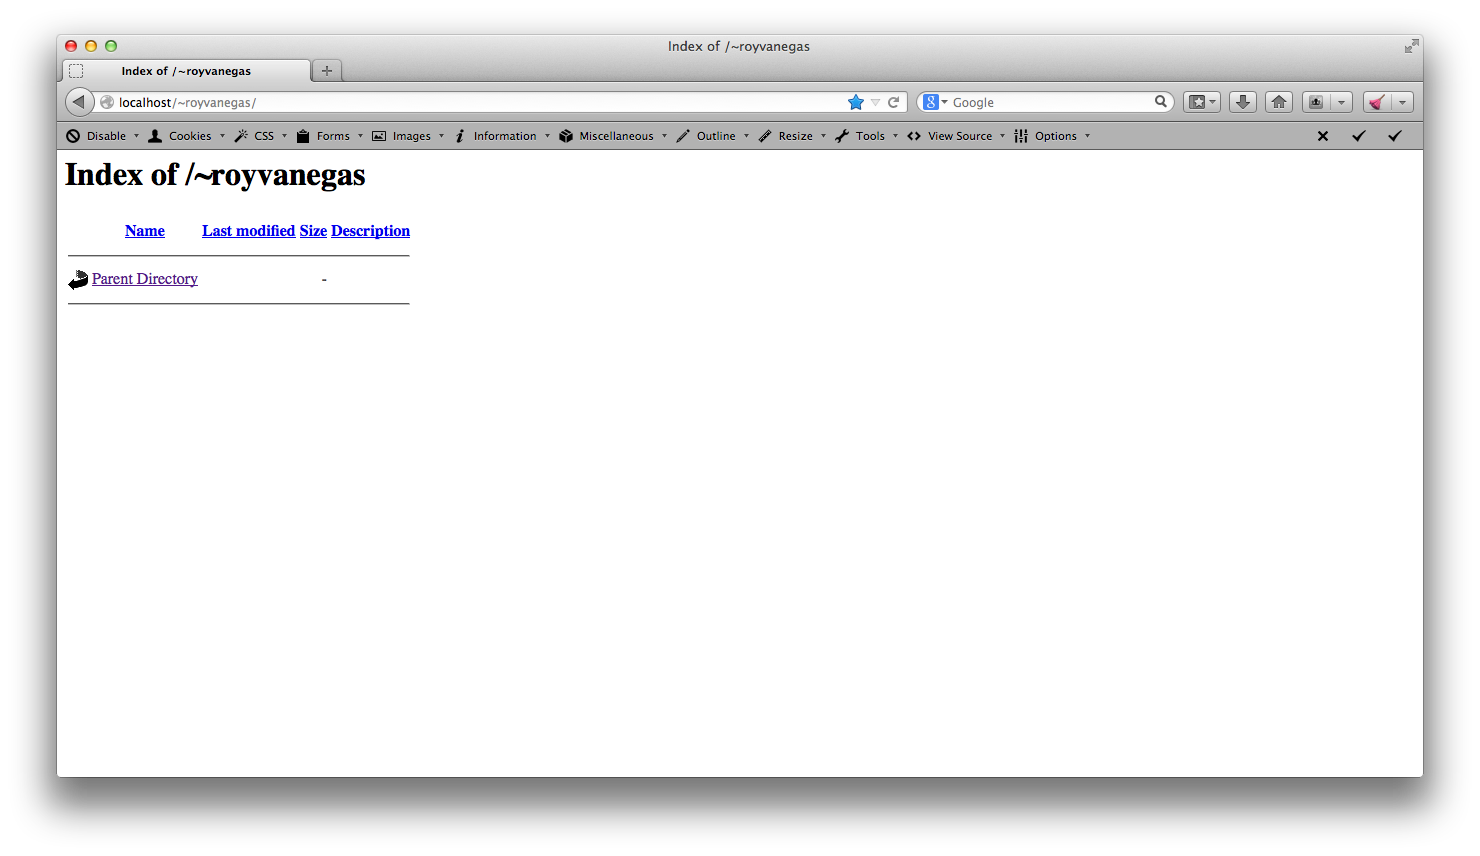
- Launch a browser and point it at localhost/~username. You should see something akin to the following:

If you receive a message to the effect of, “Unable to connect,” then you’ve likely introduced an error somewhere in the steps above, or your server is not running.
