Like the Apache 2 server, PHP comes pre-installed in Mac OS X, version 10.8.x, but, by default, is disabled. The following is a tutorial on how to enable and use PHP with your Apache server on Mac OS 10.8.x.
Note: before proceeding, make sure the root, or super, user account is enabled.
Note: The dollar sign character ($) included in the following command line examples is used to indicate The Terminal’s prompt. It should not be typed in any of the directions listed below.
- Launch The Terminal.
- Navigate to the apache directory
$ cd /etc/apache2
- The HTTP configuration file for the Apache server — httpd.conf — is inside the apache2 folder. A small change needs to be made to this file for PHP to work, and we’ll use emacs to make the change. (You’ll be asked for the root password in this step.)
$ sudo emacs httpd.conf
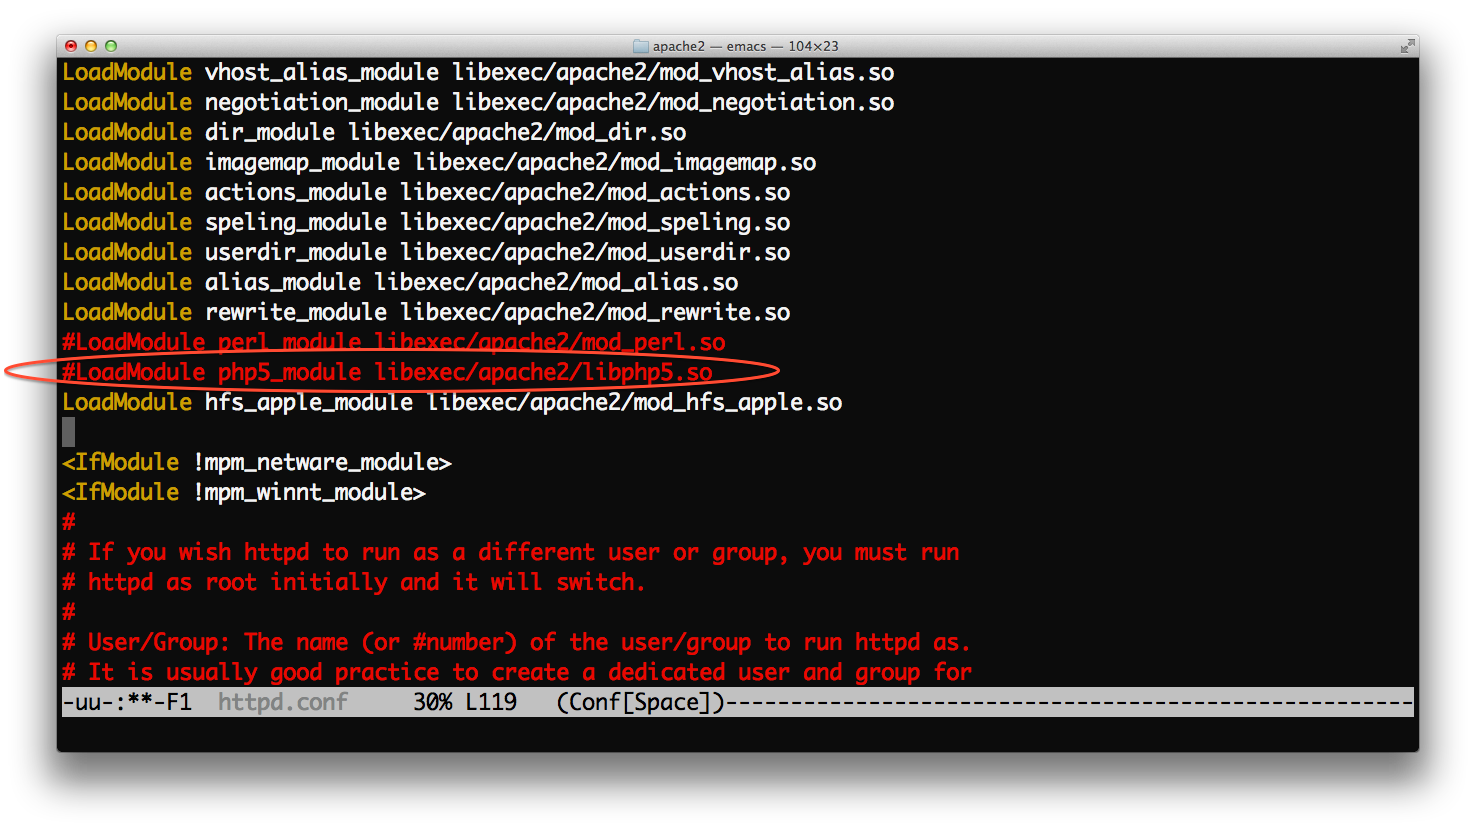
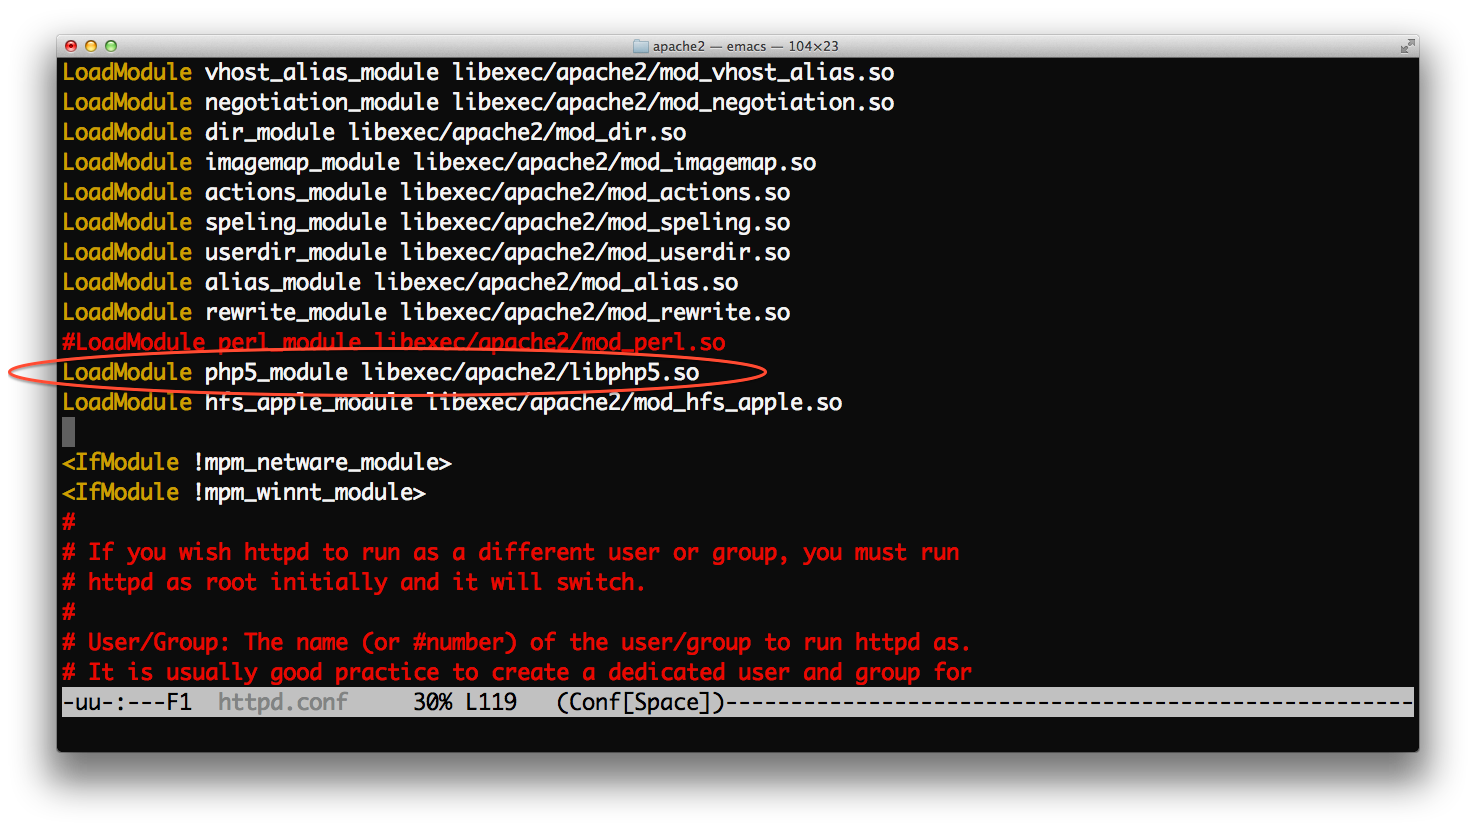
- Using your keyboard’s down arrow key, scroll down the file — about 120 lines — to the #LoadModule php5_module entry. Note the hash character (#) at the beginning of this line. That character serves to comment out, and thus disable, the line on which it appears — in this case, PHP. You’ll need to remove the # character to enable PHP.

Figure 1: The entry in httpd.conf containing the disabled PHP5 module entry. 
Figure 2: The hash character removed from httpd.conf in order to enable PHP. - Save the file. Type control + x s. That is, hold the control key down and simultaneously type x followed by s.
- Exit emacs. Type control + x c: hold the control key down and simultaneously type x followed by c.
- Restart Apache. Note: anytime you make changes to httpd.conf, Apache, AKA the web server, must be restarted.
$ sudo apachectl restart
- Right-click (or left-click for lefties) the following link and choose to save the file in your Sites folder: info.php.backup
- Navigate to the Sites folder:
$ cd $HOME/Sites
- Remove the .backup extension:
$ mv info.php.backup info.php
- Set the proper permission bits:
$ chmod 644 info.php
- Open a browser and point it at localhost/~YOUR_USER_NAME/info.php, where YOUR_USER_NAME is your Mac username. If you don’t know it, type whoami at The Terminal.
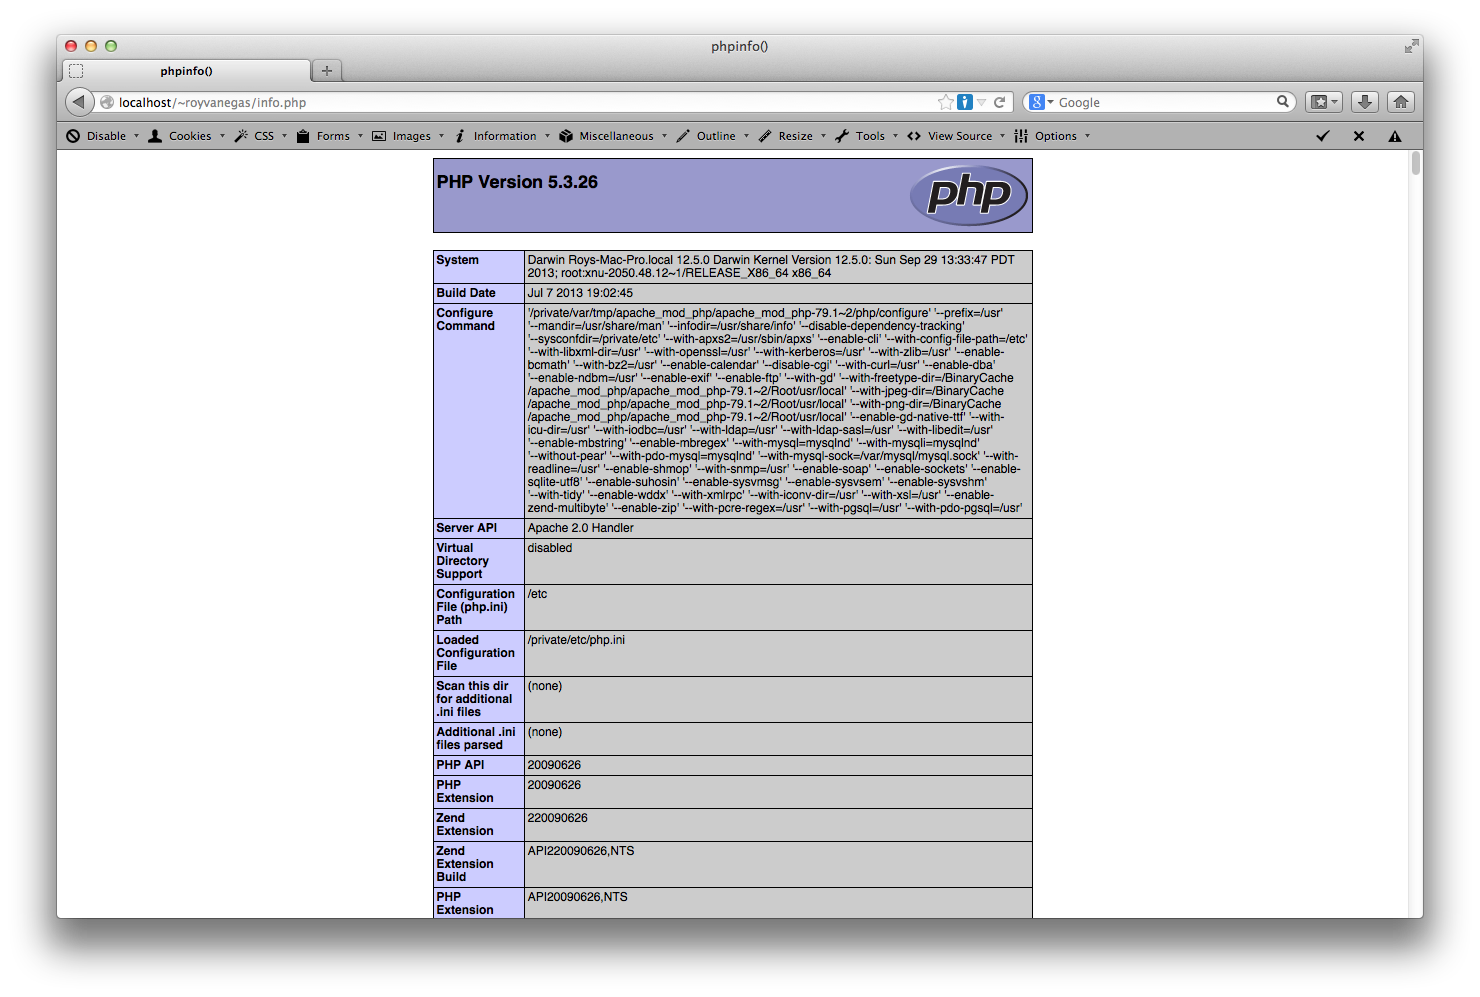
- Your browser should look similar to the following:

Figure 3: The output of info.php in a browser.
